There’s something special about making your own juice at home. It feels cozy, smells amazing, and tastes way better than store-bought. This homemade apple juice recipe is perfect for using up apple scraps, especially during baking season. Whether you’re prepping for fall or just want a fresh, lightly sweet drink, this guide walks you through everything from boiling to canning. Let’s turn those apples into something truly refreshing.
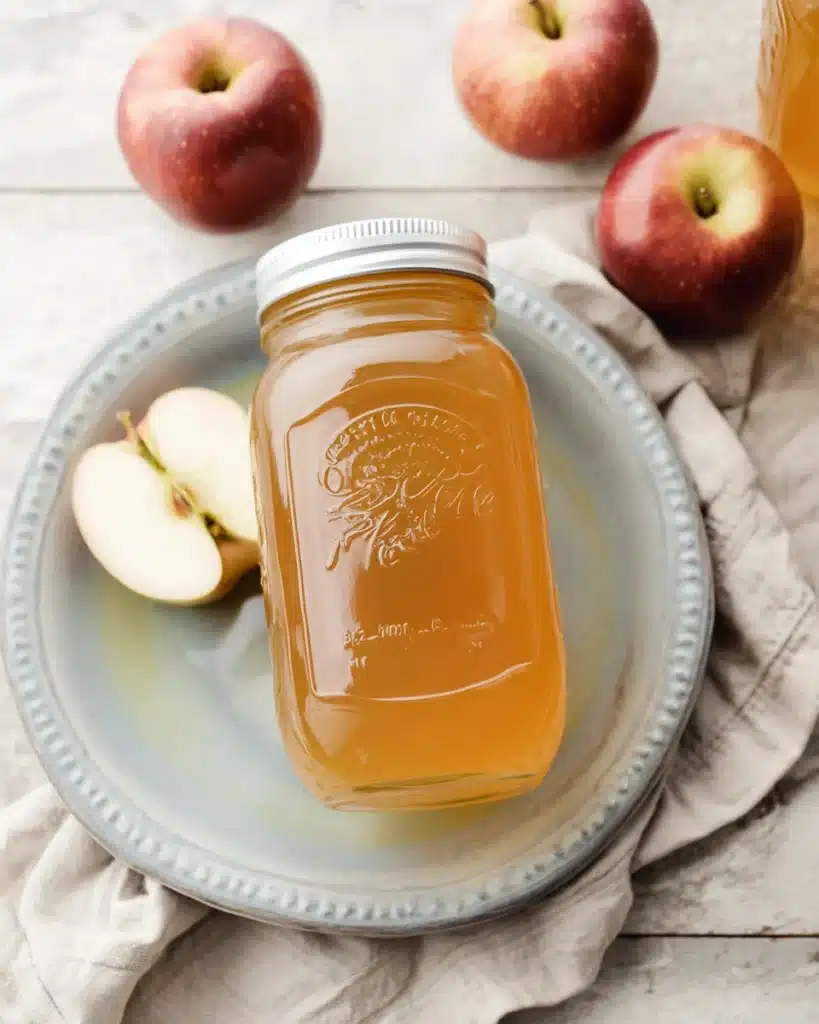
Table of Contents
Why Make Homemade Apple Juice?
Homemade apple juice is packed with flavor. When you make it yourself, you can use the apples you love most and skip all the added preservatives and sugars found in store-bought versions. Also, if you bake often, this recipe is a smart way to use leftover apple peels and cores. Nothing goes to waste.
Another big win is freshness. The taste of just-picked apples, simmered and sweetened to your liking, is unmatched. You also get full control over how sweet or tart your juice turns out. That’s something you can’t find in a bottle from the grocery store.
Plus, this juice is budget-friendly. Store-bought organic juices can get pricey. But if you’re already slicing apples for a pie or cozy apple cinnamon rolls for holiday mornings, turning the scraps into juice stretches your ingredients even further. It’s satisfying, sustainable, and perfect for canning.
Best Apples for Homemade Apple Juice
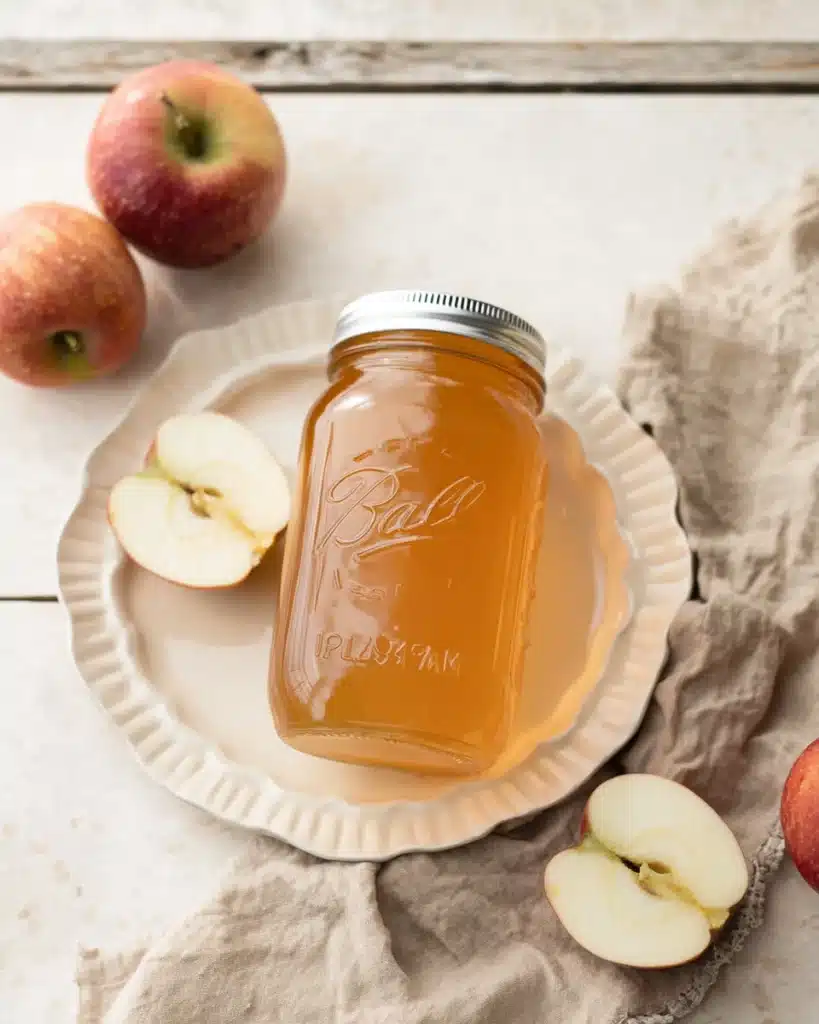
For the best-tasting juice, start with naturally sweet apple varieties. Gala, Fuji, Jonagold, Honeycrisp, Pink Lady, and Braeburn are all great choices. These apples have a balanced flavor that’s fresh, crisp, and a little sweet. They create a mellow, drinkable juice that works beautifully with or without added sugar.
You can also mix different varieties for a more complex flavor. Try combining sweet Gala with slightly tart Pink Lady apples. The juice will be smooth but still have a gentle bite.
Avoid overly tart apples like crab apples. They’re too sour for juice unless heavily sweetened, which takes away from the fresh apple flavor. Stick to dessert apples for a naturally smooth and delicious result.
Ingredients You’ll Need
Core Ingredients
To make this juice, you’ll need about 14 pounds of fresh apples or clean apple scraps. Add 5 cups of hot water, 3 tablespoons of bottled lemon juice (for safety in canning), and sugar if desired. Taste your apples first and adjust sugar to your liking.
Optional Flavor Adjustments
If your apples are super sweet, you might not need any sugar. Prefer a tangy twist? Add a little more lemon juice. This recipe is easy to tweak, depending on what apples you’re using.
Tools and Equipment
You’ll need a large stock pot or slow cooker insert to simmer the apples. A cheesecloth and fine strainer are key for removing pulp and getting smooth juice. For canning, gather mason jars with lids and bands, a canning funnel, and a water bath canner.
Make sure all tools are clean and ready. Having everything prepped before you start helps the process go smoothly. If you’re new to canning, don’t worry — we’ll walk through each step.
How to Make Homemade Apple Juice
Prepare the Apples and Water
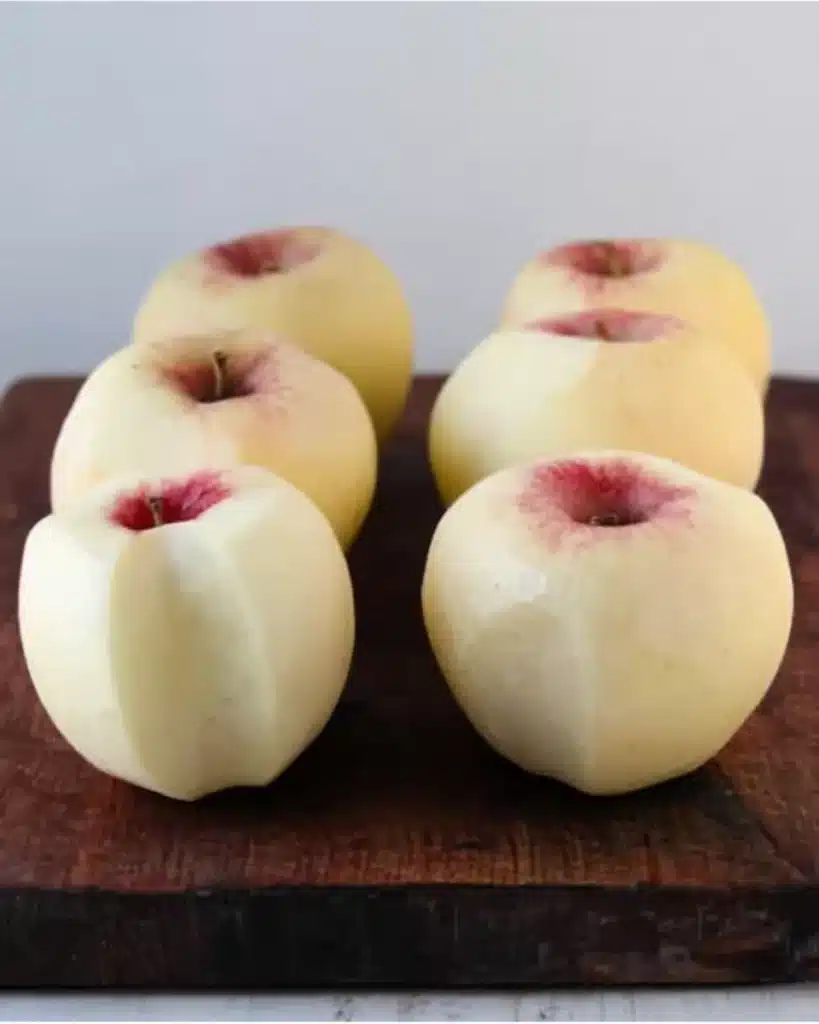
Start by filling your pots about three-quarters full with fresh apple scraps or sliced apples. Pour 5 cups of hot water over them. Cover and let the apples sit for 2 to 3 hours. This step draws out their natural juices.
After an hour or so, add 2 to 5 more cups of hot water to each pot. Stir everything well and let it sit for another hour. The apples should be soft and fragrant by now.
Extracting and Straining the Juice
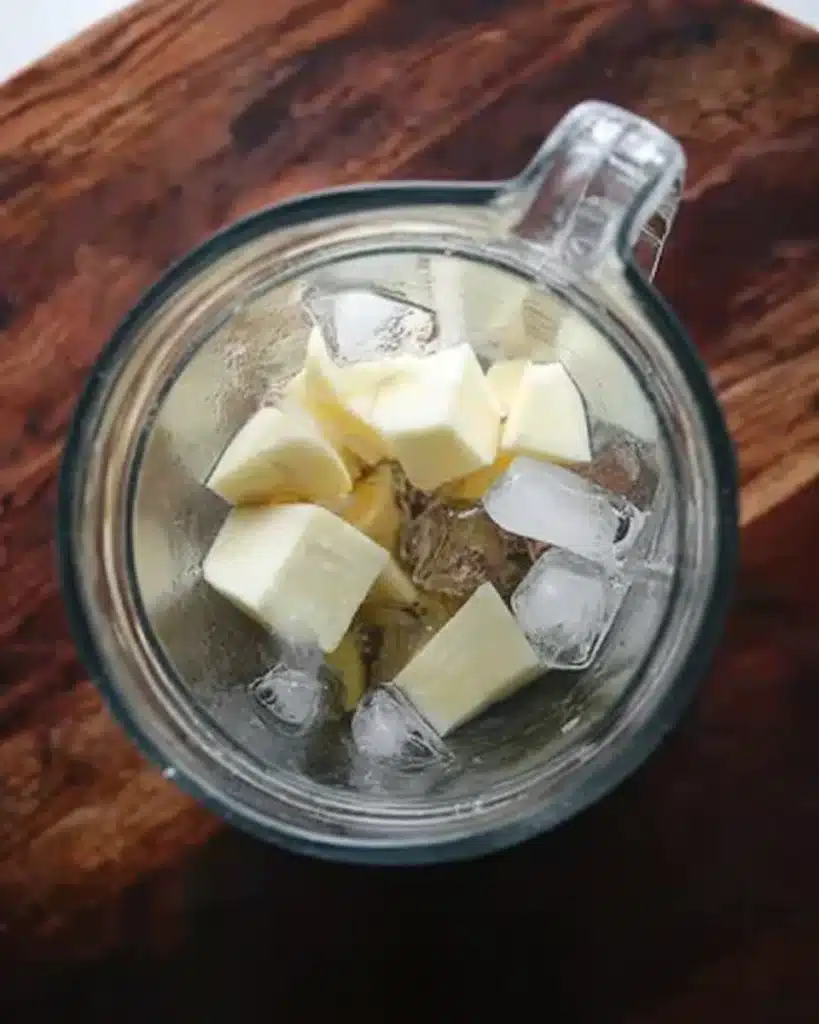
Next, strain the mixture through a cheesecloth placed over a large stockpot. Let the juice drip slowly to remove all pulp. Don’t rush this part — it keeps your juice clear.
If you want even clearer juice, let it cool, then refrigerate it overnight. The sediment will settle at the bottom. The next day, reheat gently and ladle the top portion without stirring the sediment.
Sweetening and Boiling
Bring the strained juice to a boil. Add sugar to taste, stirring until it fully dissolves. Boil for 20 to 30 minutes. This step blends the flavors and helps preserve the juice. Now your juice is ready to drink or can.
How to Can Homemade Apple Juice
Sterilizing the Jars
Wash your jars, lids, and bands in hot soapy water. Rinse them well and air dry. Place jars in a canner filled with warm water. Simmer them at 180°F for 10 minutes to keep them hot and sanitized.
Filling and Sealing
Use a canning funnel to ladle the hot juice into the warm jars. Leave ½ inch of headspace at the top. Wipe the rims clean with a damp cloth. Place lids on and screw bands until fingertip tight.
Water Bath Processing
Lower the jars into a boiling water bath. Process them for 30 minutes if you’re below 6,000 feet elevation. Adjust the time for higher altitudes if needed. When time’s up, turn off the heat and let jars sit in the water for 5 minutes.
Carefully remove the jars and place them upright on a towel. Let them cool undisturbed for 12 to 24 hours. Check the seals by pressing the center of the lids — they shouldn’t pop. Refrigerate any jars that didn’t seal.
Storing Your Apple Juice
Remove the bands and rinse jars before storing. Label each jar with the date and contents. Store in a cool, dark place. Unopened, the juice will last 12 to 18 months. Once opened, keep it in the fridge and enjoy within a week.
Recipe Tips and Notes
For crystal-clear juice, always let it settle overnight in the fridge before final straining. Don’t stir the sediment when reheating.
If your apples are naturally sweet, you can skip the sugar entirely. The lemon juice helps preserve the juice, but you won’t taste it much.
Always follow canning safety guidelines. Use bottled lemon juice for consistent acidity and sterilize everything carefully. Once sealed, store your jars away from sunlight and heat.
This juice is perfect to enjoy cold or warm. For a fall twist, try serving it alongside classic apple crisp recipe with buttery oat topping or simple apple crumble for a warm, cozy dessert.
Explore Similar Recipes
- Cozy apple cinnamon rolls for holiday mornings
- Classic apple crisp recipe with buttery oat topping
- Simple apple crumble for a warm, cozy dessert
- Easy pumpkin cream cheese crumb cake
- Chocolate pumpkin cupcakes perfect for fall
- Soft pumpkin oatmeal cookies full of fall flavor
Conclusion
Making your own homemade apple juice is both rewarding and delicious. It’s a great way to use up apple scraps and fill your pantry with something fresh and naturally sweet. With just a few tools and a bit of time, you can create a flavorful drink that lasts for months. Whether served warm in fall or chilled in summer, this juice hits the spot every time.
Get inspired on Pinterest for more cozy, homemade ideas.
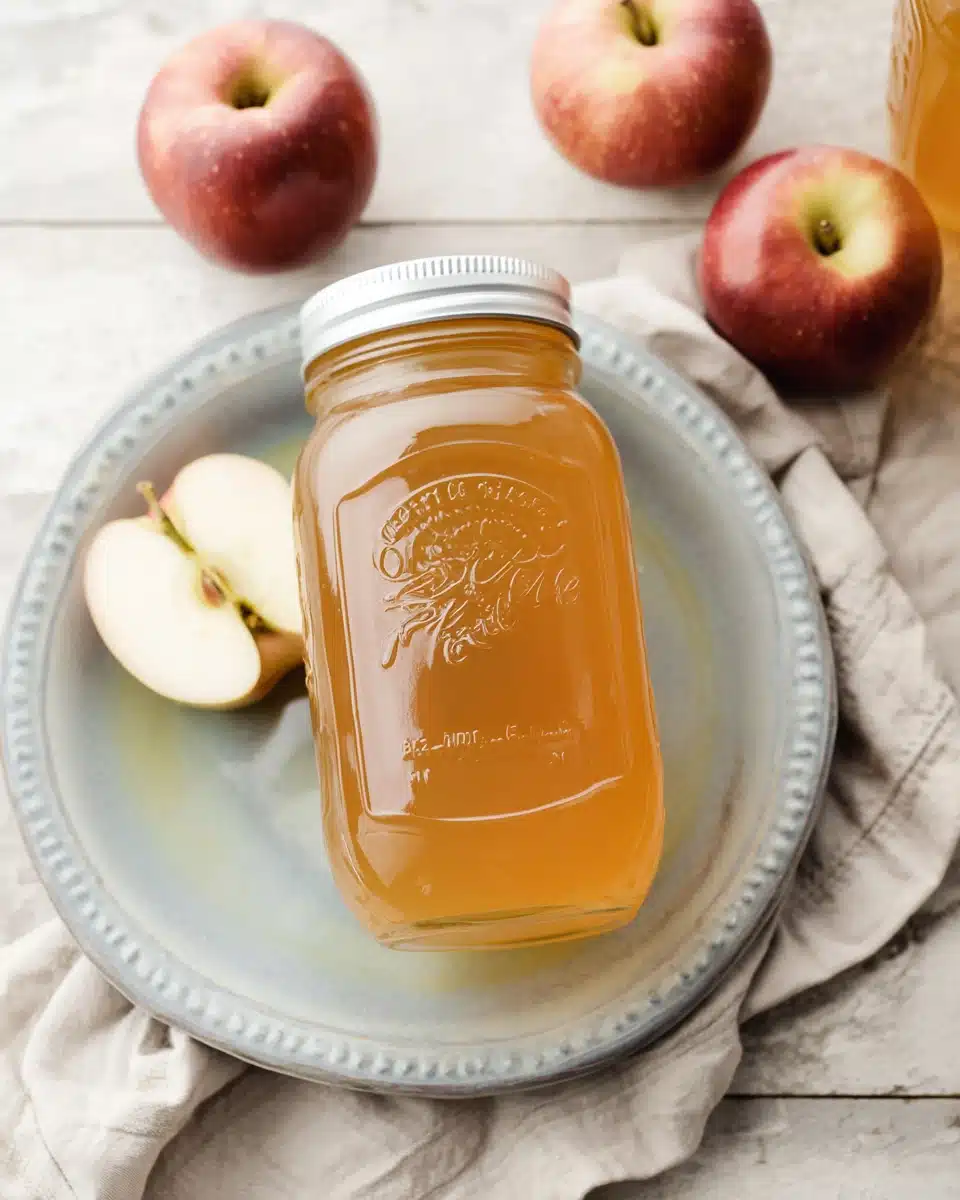
Homemade Apple Juice Recipe : Easy Canning Instructions
Ingredients
- 14 lbs apples or apple scraps
- 1 cup sugar optional, to taste
- 5 cups water from boiled apples
- 3 tbsp bottled lemon juice
Instructions
- 1. Boil water if not using leftover water from another apple recipe.
- 2. Place apple scraps in pots or crock inserts, filling ¾ full.
- 3. Cover scraps with hot water and let sit covered for 2–3 hours.
- 4. After an hour, add 2–5 more cups of hot water to each pot, stir, and let sit another hour.
- 5. Strain mixture through cheesecloth into a stockpot to remove pulp.
- 6. Bring strained juice to a boil, add sugar to taste, and boil for 20–30 minutes until sugar dissolves.
- 7. Cool and refrigerate overnight if clearer juice is desired.
- 8. Reheat without stirring; ladle carefully into jars.
- 9. Sterilize jars and tools in hot soapy water, rinse, and air dry.
- 10. Simmer jars in canner at 180°F for 10 minutes, keep them hot.
- 11. Ladle hot juice into jars with ½-inch headspace.
- 12. Wipe rims, apply lids and bands fingertip tight.
- 13. Boil filled jars for 30 minutes in a water bath (adjust for altitude).
- 14. Cool jars in canner for 5 minutes, then transfer upright to towel-covered surface.
- 15. Let sit undisturbed 12–24 hours.
- 16. Check seals; refrigerate any unsealed jars and use within a week.
- 17. Remove bands, wash jars, label, and store in a cool, dark place for up to 12–18 months.
