There’s something about apple slab pie that reminds me of fall bake sales at the community center. You’d walk in and be hit with the scent of cinnamon and butter, kids giggling in the corner, and every table stacked with generous slices of homemade pie. This one? It was always the first to vanish. With its buttery crust and sweet-spiced filling, apple slab pie is impossible to resist.
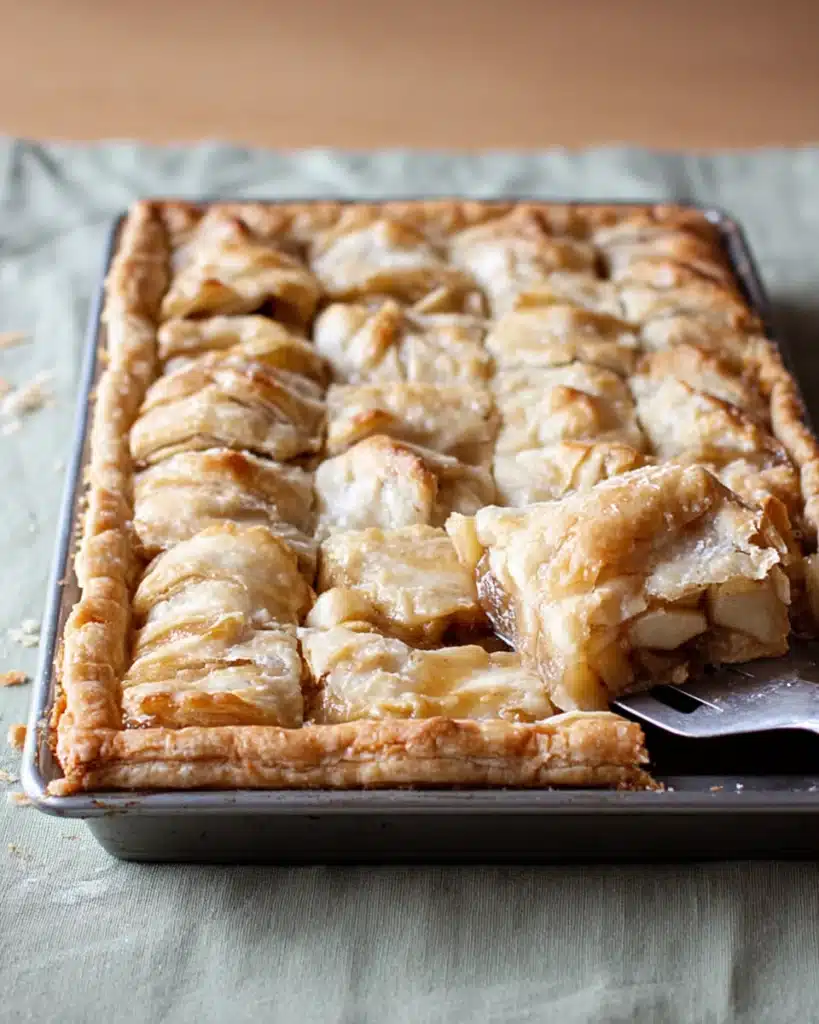
Table of Contents
Why You’ll Love This Apple Slab Pie
This apple slab pie is your go-to dessert when you’re baking for a crowd. It’s big, beautiful, and fills the kitchen with the cozy scent of cinnamon, butter, and baked apples — like a warm hug straight from the oven.
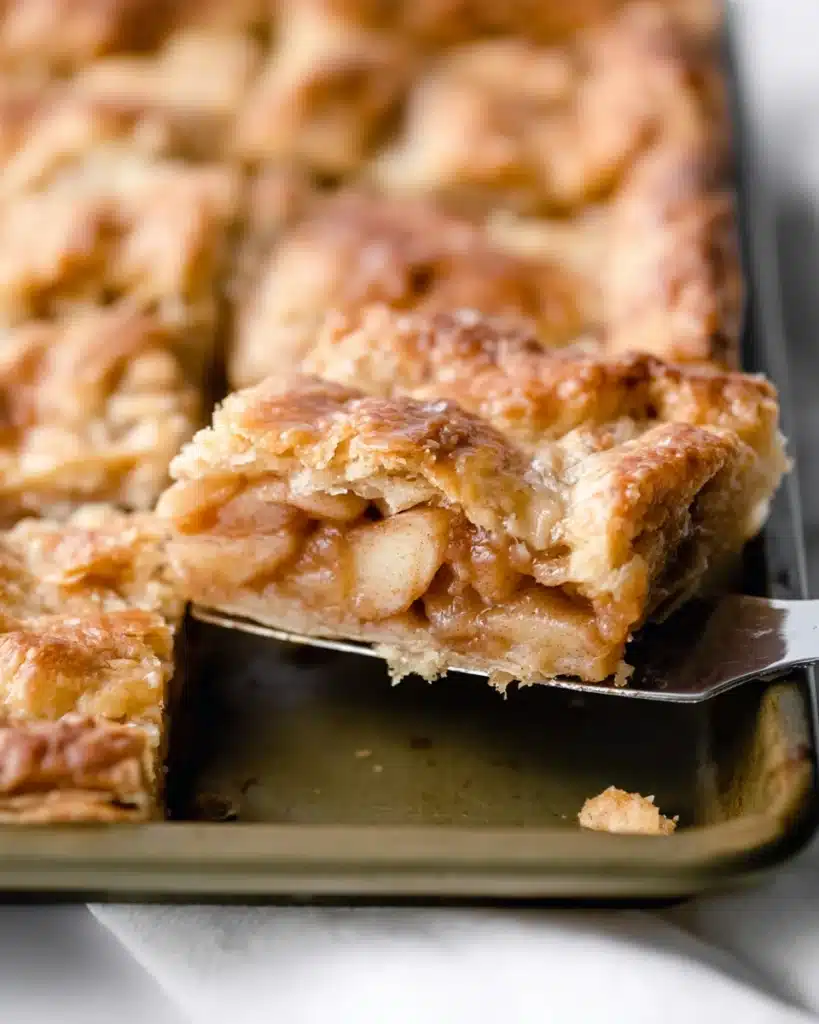
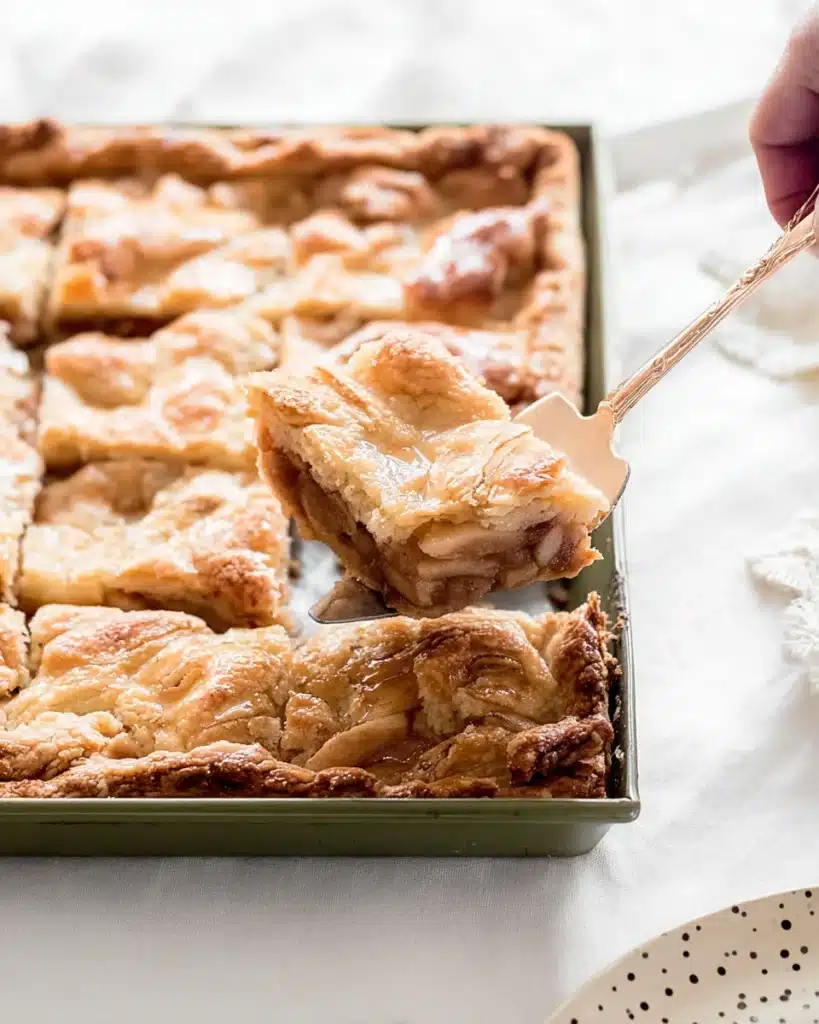
The golden, flaky crust wraps around a generous filling of chopped apples tossed with sugar and spice. Each bite gives you that sweet-tart apple flavor balanced with just the right hint of cinnamon and nutmeg. Unlike traditional round pies, this apple slab pie is made in a sheet pan, making it much easier to slice and serve. No delicate wedges or messy plating required — just clean, hearty squares that hold together beautifully.
The crust-to-filling ratio is just right: crisp and sturdy underneath, soft and melt-in-your-mouth on top. Whether you’re making it for a potluck, a bake sale, or just a weekend gathering, this apple slab pie always feels like a celebration.
Ingredients You’ll Need
For the Crust
For the crust in this apple slab pie, you’ll need all-purpose flour, a touch of sugar, and a bit of salt for balance. The real magic happens with cold, cubed butter. It creates those tender, flaky layers that make every bite satisfying. Work the butter into the flour until it looks like coarse crumbs. Then, stir in very cold water, just enough to bring the dough together without making it sticky. If it feels dry, add a tablespoon at a time. Chill the dough for at least two hours. This resting time helps the apple slab pie crust stay firm and bake beautifully.
For the Apple Filling
Use 3 ½ to 4 pounds of apples for the filling in your apple slab pie. A blend of tart and sweet varieties gives the most balanced flavor — Granny Smith adds a tangy bite, while Honeycrisp brings natural sweetness and juiciness. Toss the chopped apples with a squeeze of lemon juice to keep them from browning and to brighten their flavor. Then, mix in sugar, cornstarch to thicken the juices, ground cinnamon, nutmeg, allspice, and a pinch of salt. These cozy spices turn the apple slab pie into something truly comforting, with just the right balance of warm and fruity notes.
To Finish
Brush the crust of your apple slab pie with a bit of heavy cream or a simple egg wash right before baking. This small step makes a big difference. It helps the crust brown evenly and creates that golden, glossy finish that looks like it came straight from a bakery window. The shine also adds an inviting, professional touch that makes each slice more appealing. If you want to impress your guests or just enjoy that perfect pie glow at home, don’t skip this step. A well-brushed crust brings out the beauty of your apple slab pie in every bite.
Step-by-Step Instructions
Make the Crust
Start by whisking flour, sugar, and salt in a big bowl. Add the cold butter and cut it in until the texture looks like crumbly sand with pea-sized bits.
Stir in ½ cup of cold water. If it’s dry, add more water, one spoonful at a time. Form the dough into a soft ball, divide it into two pieces (one slightly larger), wrap, and chill for at least 2 hours.
Prepare the Apple Filling
Peel, core, and chop the apples into bite-sized pieces. Toss with lemon juice in a large bowl.
In a separate bowl, combine sugar, cornstarch, spices, and salt. Mix with the apples and let them sit while you roll out the dough.
Assemble the Pie
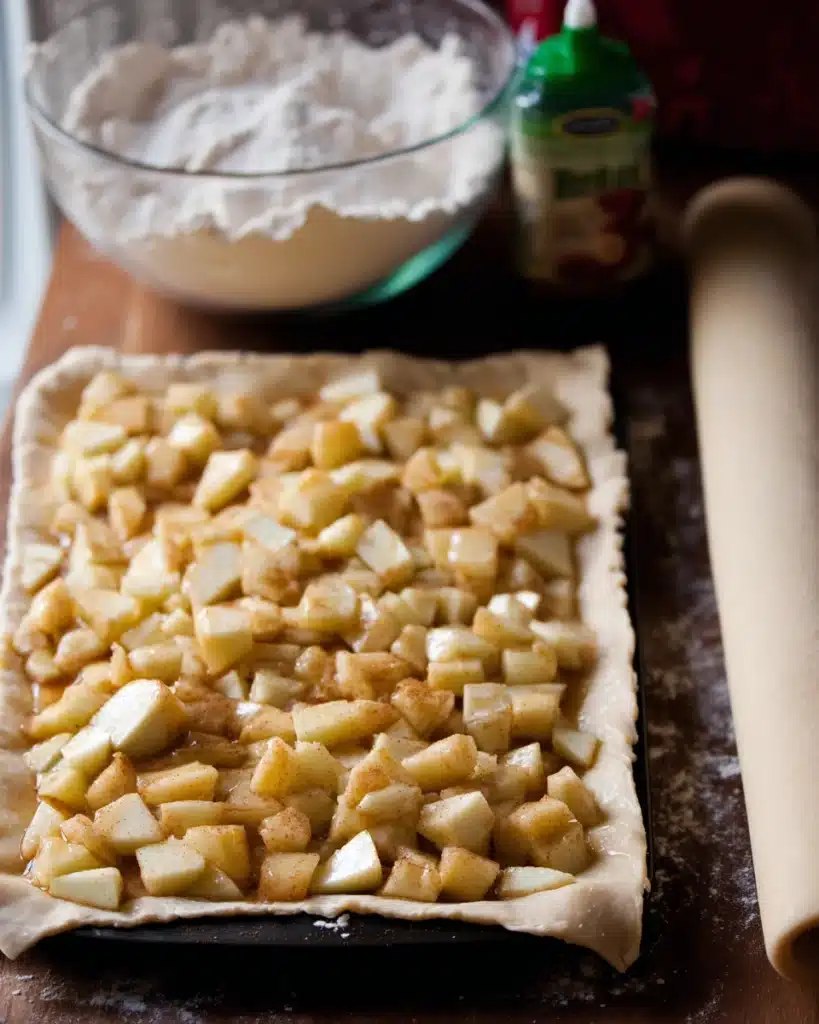
Preheat your oven to 375°F. Line a jelly roll pan (10×15×1 inch) with parchment.
Roll the larger dough to about 18×13 inches and fit it into the pan, letting the edges hang over slightly. Chill this while you roll the top crust to 16×11 inches.
Pour the apple filling into the bottom crust, spread it evenly, and cover with the top crust. Trim the edges to a ¾-inch overhang, then crimp or fold to seal.
Brush with cream or egg wash, then cut a few slits in the top so steam can escape.
Bake and Cool
Place the pan on a large baking sheet to catch any bubbling juices that might overflow during baking. This extra step keeps your oven clean and mess-free. Bake your apple slab pie for 40 to 45 minutes, or until the crust turns a rich golden brown and the spiced apple filling bubbles up through the slits on top.
Once baked, let the apple slab pie cool for at least 45 minutes. This resting time is key. It allows the juices to thicken properly and the pie to set, making it much easier to slice cleanly and serve without any filling spilling out.
Tips for the Best Results
Let your apple slab pie cool almost completely before slicing. This helps the filling set properly, so you get clean, beautiful squares that hold their shape. Cutting too soon can make the slices messy and gooey.
You can make the whole pie a day in advance. Just keep it loosely covered in the baking pan at room temperature or in a cool spot. To reheat, place the apple slab pie in a 300°F oven for about 20 minutes. Broil briefly at the end to re-crisp the top crust.
Worried about sogginess? Don’t skip lining the pan with parchment or chilling the dough before baking. Both steps help keep the bottom crust firm and flaky.
Storage and Make-Ahead Options
After baking, keep your apple slab pie in the same pan, lightly covered. Store at room temperature or in a cool spot for up to 24 hours.
Want to make it ahead? Assemble the whole pie, cover, and chill overnight. Bake it fresh the next day.
You can freeze it after baking, too. Wrap well and freeze for up to 2 months. Thaw overnight and reheat before serving.
Apple Slab Pie Recipe
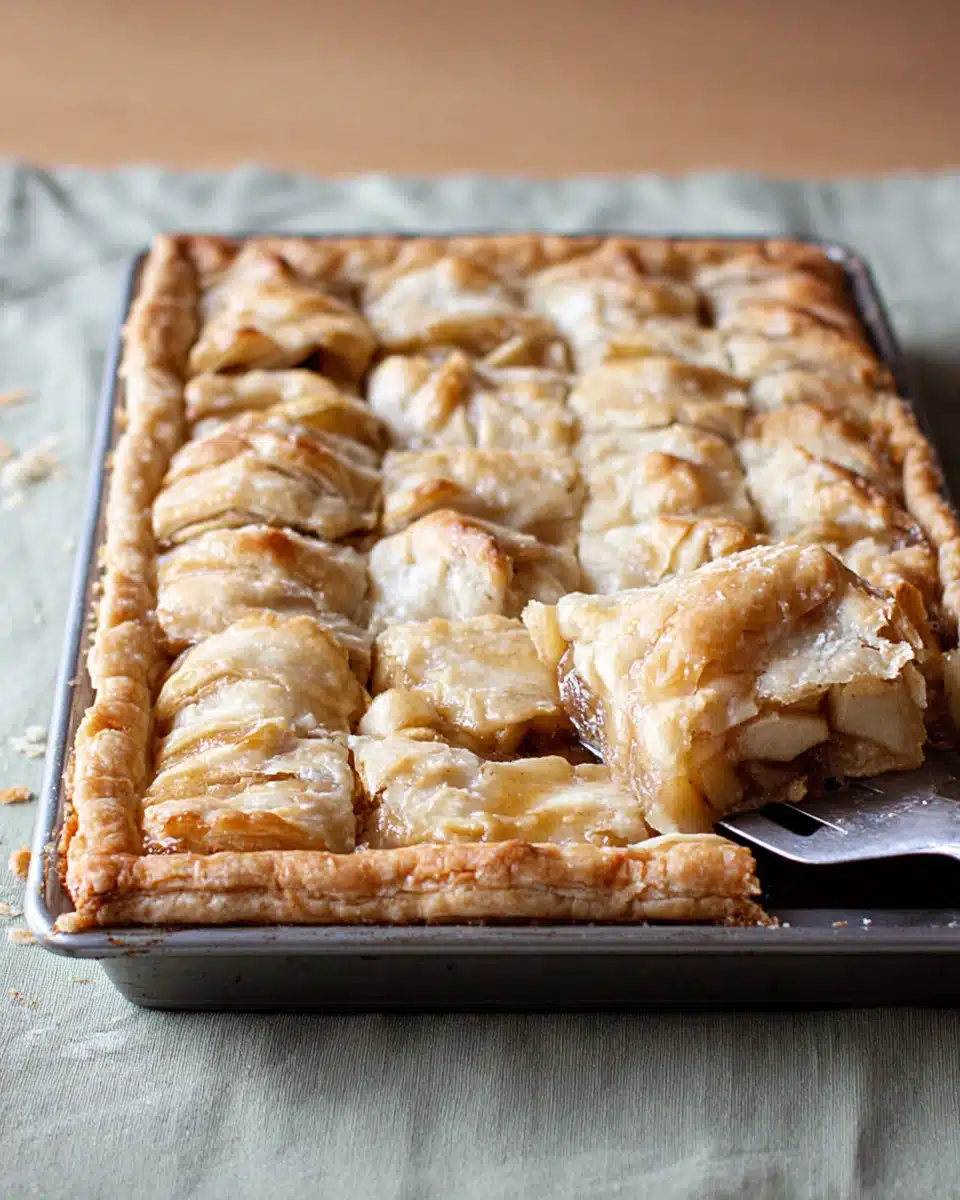
Apple Slab Pie – A Crowd-Pleasing Dessert for Any Occasion
Ingredients
- **For the Crust:**
- 3 ¾ cups 470g all-purpose flour
- 1 ½ tbsp sugar
- 1 ½ tsp table salt
- 3 sticks 12 oz or 340g unsalted butter, cubed and cold
- ¾ cup very cold water
- **For the Apple Filling:**
- 3 ½ to 4 pounds apples about 10 cups, peeled, cored, chopped
- Squeeze of lemon juice
- ⅔ to ¾ cup sugar adjust to taste
- 3 tbsp cornstarch
- 1 rounded tsp ground cinnamon
- ¼ tsp ground nutmeg
- ¼ tsp ground allspice
- ⅛ tsp table salt
- **To Finish:**
- 2 tbsp heavy cream OR 1 egg beaten with 1 tbsp water
Instructions
- 1. Whisk flour, sugar, and salt in a large bowl.
- 2. Add cold butter and cut into flour until pea-sized.
- 3. Stir in ½ cup cold water with spatula. Add more if dry.
- 4. Form into a ball; divide into two pieces (one larger).
- 5. Wrap and chill for at least 2 hours.
- 6. Toss apple chunks with lemon juice.
- 7. In another bowl, mix sugar, cornstarch, spices, and salt.
- 8. Combine the mixture with the apples and set aside.
- 9. Preheat oven to 375°F. Line a 10×15×1-inch pan with parchment.
- 10. Roll larger dough piece to 18×13 inches. Fit into pan; chill pan.
- 11. Roll second dough piece to 16×11 inches.
- 12. Pour apple mixture into the dough-lined pan.
- 13. Cover with second dough sheet. Trim and seal edges.
- 14. Brush top with cream or egg wash. Cut slits in crust.
- 15. Place pan on baking sheet. Bake 40–45 mins until golden.
- 16. Cool at least 45 minutes before slicing.
Notes
Explore Similar Recipes
Craving more comforting desserts? Try my comforting apple crisp with a buttery oat topping.
For something seasonal, check out the moist pumpkin bread bursting with fall spices, or if you’re planning a party, these mini pumpkin pies perfect for individual servings are always a hit.
And for cozy mornings, you’ll love this cozy oatmeal apple breakfast bake.
FAQs
What type of apples work best for an apple slab pie?
A mix of firm apples like Granny Smith and Honeycrisp gives the best texture and flavor. Mixing sweet and tart keeps it balanced.
Can I make apple slab pie ahead of time?
Yes, you can bake it a day ahead and store it covered in the pan. Or, assemble it the night before and bake fresh the next day.
How do I keep the crust from getting soggy?
Pre-chill the crust in the pan before filling it. Also, using parchment paper and cutting slits in the top crust helps steam escape, which keeps the bottom firm.
Can apple slab pie be frozen after baking?
Absolutely. Let it cool completely, then wrap tightly and freeze. Thaw overnight and reheat before serving.
Final Thoughts
Apple slab pie has a way of bringing people together. It’s simple, nostalgic, and makes everyone feel welcome at the table. I hope this becomes your new go-to for holidays, potlucks, or just when you’re craving something cozy.
If you try it, I’d love to see what you made! Leave a comment, rate the recipe, or tag me on Instagram or Pinterest.
